We'll attach the motherboard headers while
we're at it. They connect to the Power and Reset switches,
and the Power LED and HDD activity LEDs on the front of the
case.
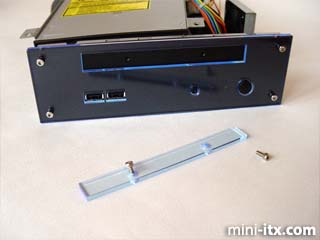
We wanted to add an optical drive to our
case, so we'll remove the front cover. This is a two stage
process. We used an Allen key to unscrew the two small thumscrews
with hex drive that mount the perspex cover to the steel
backplate. We wouldn't recommend using anything else - pliers
could scratch the case or damage the screws, and they're
just too wee to unscrew by hand. The steel backplate has
a rectangular gap ready to be popped out. Don't throw this
away - you could tape it back up later and fit the cover
again if you want to use your optical drive elsewhere. We
would have liked to have seen a replaceable backplate arrangement
to make this task even easier, but this is still rare with
most case manufacturers.
Tip #3: Fit your IDE cables onto your drives
before you put the drive tray back in place. Feed the IDE connector
for the optical drive through at an angle, to get round the
slimline IDE to desktop IDE converter.
We changed our
minds here and fitted a slot-load CDRW/DVD combo drive. Ours
wanted to be a master IDE device, as did our 2.5" HDD,
so we used a separate IDE cable to save a little time and
some IDE squabbles. The supplied IDE cable has two connectors,
so we could
have also used the jumpers on the 2.5" HDD to set it to slave.
There are no configurable jumpers on the combo drive (the
master/slave
orientation
of the drive
is
programmed
in ROM).
If you have an EPIA V with only one IDE socket, you will need
to set the HDD appropriately.
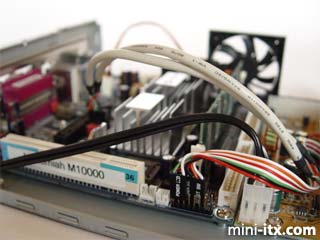
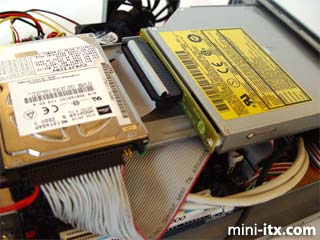
We'll save you some time here. The
IDE cables can be connected in two orientations. Your drives
won't mount if connected the wrong way, and may even become
permanently damaged. The red stripe denoting pin 1 on our
IDE cable is at the
far
end
of
the slimline
IDE to desktop IDE converter (next to the angled part of
the optical drive). The red stripe on the hard drive IDE
cable is next to the four separate pins on our 2.5" HDD.
Click the picture to enlarge it. We found our 2.5" HDD
cable was a little bit loose, but was fine when in place.
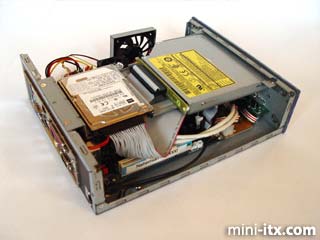
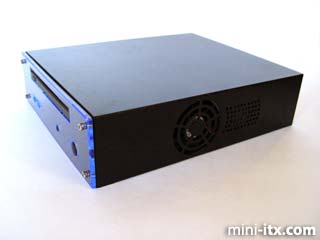
After a quick power-up check, we'll
put the case back together. Here you can see the cutout
for the 60mm exhaust
fan, and the vents at the side.
Final
Page
and Conclusion -->