|
Chyang Fun E-Note Review
Posted on January 26, 2003
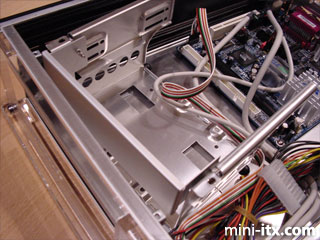
The drive cage is easily removed - it hooks under 2 metal brackets on the base and screws into moutings on the front of the case. The front blanking plate is removable and reattachable without screws, so keep that bit.
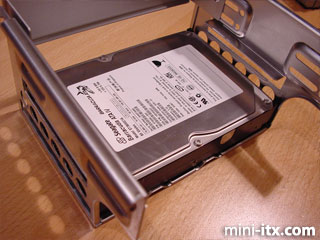
Fitting the drives in place is easy - first take one 3.5" hard drive...
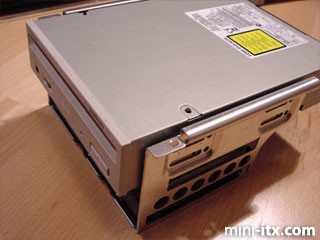
..add a 5.25" CD/DVD drive et voila. You could even screw yours together.
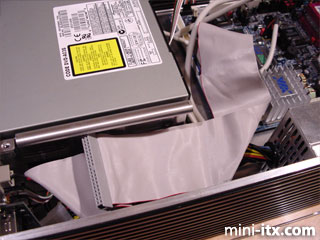
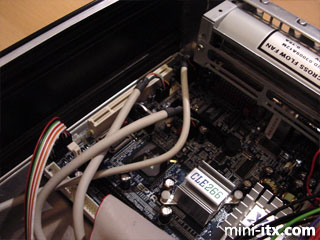
The angle of the hard drive requires the IDE cable to be routed around the side of the cage. A chance to rekindle your interest in the ancient art of IDE cable folding. Or get one of those new-fangled round ones.
Connecting the USB, Firewire and audio connectors. Time for the manual again. Hint: carefully trace the cables from the front of the case. Either of the two Firewire headers can be used (closest to the white PCI slot). Remove the two mini jumpers on pins 5/6 and 9/10 of the front audio connector (page 2-17) and connect the audio cable. Due to the nature of the EPIA M board, this disables the rear audio sockets. Finally, we attached the USB cable - after discovering that our cable was connected correctly, but had the incorrect empty pin blocked. Careful pressure on the socket forced the plastic spacer out of the way, after consultation with page 2-13 of the manual. Hint #2: Pin 7 is ground (the slightly thicker of the cables).
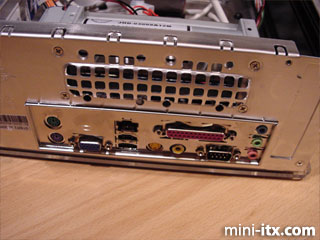
Blockage trauma over, we examine our handiwork at the rear of the case.
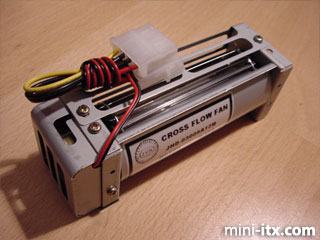
The cross-flow fan begs removal. Here it is, ready to paddle up the Mississippi. This is probably the best place for it - we didn't connect ours, finding it effective at air pushing - but this is an EPIA, not a P4...
|