|
Morex Cubid 2677R Review
Posted on August 17, 2002
Fitting
the Motherboard and RAM
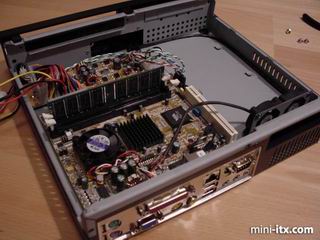
The motherboard screws into the space underneath
the CD drive and behind the DC-DC converter. We've already
fitted our RAM and attached the short ATX power cable.
The front panel switches and LEDs can now
be attached to the motherboard. Time to refer to the manual
- not quite as easy as the G-Alantic's ribbon cable/single
socket arrangement, but 99% of PC builders have to do this...
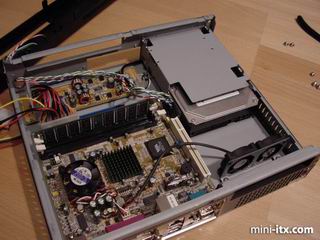
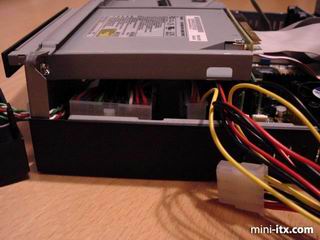
The hard drive cage slides and screws firmly
into place.
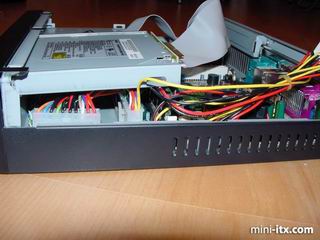
The Slim CD drive attaches at the front and
rests on top of the ATX power cable. And now we've hit our
first problem. Can you guess what it is yet?
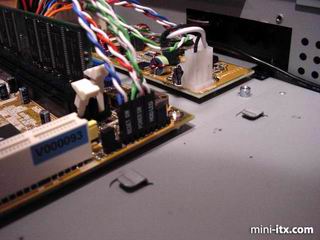
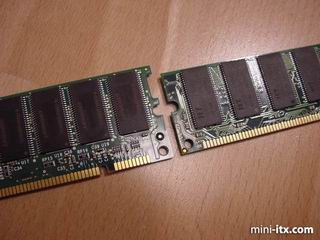
That's right. Our DIMM is too tall to allow
the CD drive to fit and open/close properly through the front
panel! Lots of DIMM shuffling later with various other PCs
in the underground Mini-ITX laboratories found a smaller module.
Careful measurement revealed that a 34mm
DIMM will NOT fit, but a 30mm DIMM WILL fit.
Even with a 30mm DIMM it's a tight squeeze.
Start measuring those DIMMs.
|