|
G-Alantic 610i Review
Posted on August 9, 2002
Fitting the Motherboard
Next comes the motherboard. Don't follow the
order in the instructions provided - your CD (or DVD) will
only get in the way.
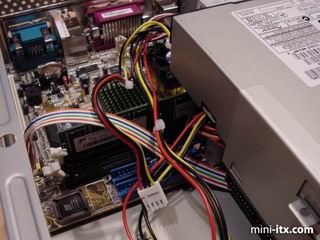
Another action shot. I was a bit trigger happy
with the digital camera.
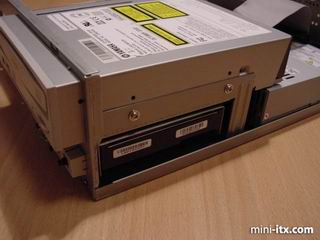
Now it's time to put in the CD.
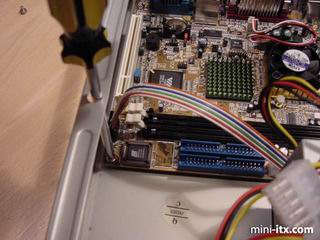
The DIMM I used for this review was 34mm high.
Any taller and they would have been touching the base of the
CDR I just put in. The motherboard power cable attaches here
too, so this corner is slightly cramped.
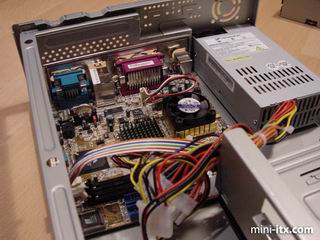
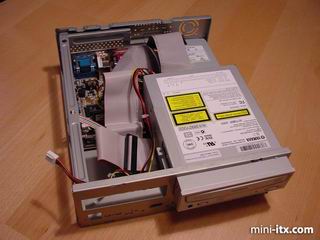
A picture from the side, showing the Hard
Drive, CD and PSU.
To aid airflow, round IDE cables would have
been better. I didn't have any. You'll need an extra IDE cable
to use a hard drive and a CD together - the standard VIA one
isn't long enough to attach them both on a single IDE bus.
Not that you'd want to do that anyway. Notice in the above
picture I've removed the 3.5" drive cage...
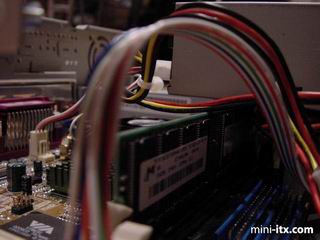
...here's why. I would have needed flexible
tentacles for fingers to attach the IDE cable leading to the
hard drive otherwise.
|